DIY Roof Maintenance Checklist

Maintaining your roof is essential for protecting your home from the elements and avoiding costly repairs. By following a comprehensive DIY roof maintenance checklist, homeowners can spot potential problems early, prolong the lifespan of their roofing materials, and safeguard their investment. Regular attention ensures that minor issues do not escalate into significant damage, saving both time and money in the long run. This guide provides clear instructions and practical advice for homeowners to undertake essential roof maintenance tasks safely and effectively.

Inspecting Roof Surfaces and Shingles

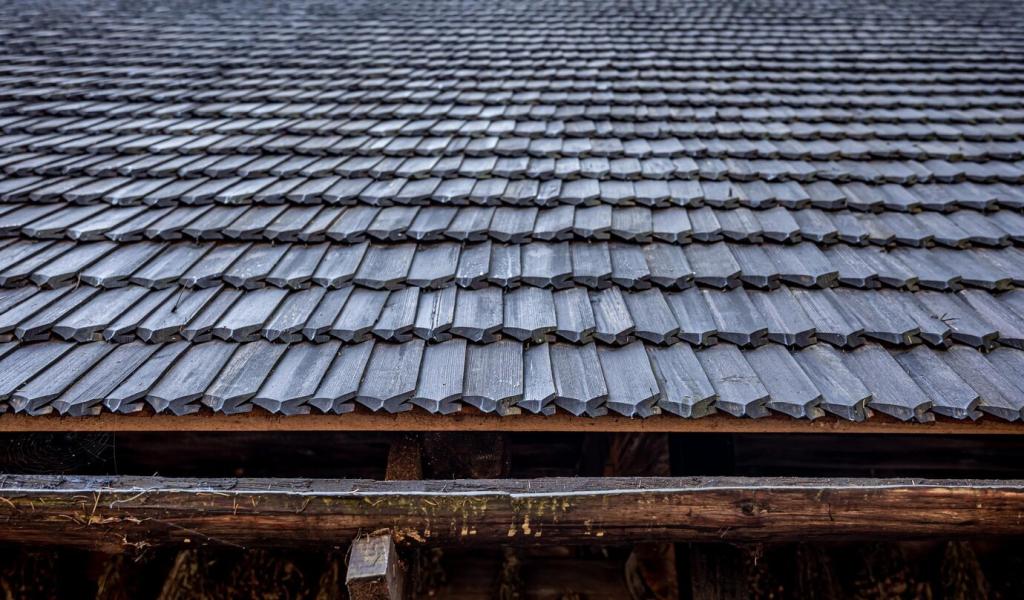
Recognizing signs of wear and damage on your shingles is essential for preserving the integrity of your roof. Look out for cracked, curling, or missing shingles, as these can allow water to seep underneath and cause structural issues. Pay attention to granule loss—if you notice excessive granules in your gutters or on the ground, this may indicate that your shingles are nearing the end of their lifespan. Always inspect for discoloration, soft spots, or other irregularities that can signal underlying problems that require immediate attention.

Removing Leaves and Blockages

Gutters often become filled with leaves, twigs, and airborne debris, particularly if your home is located near trees. These blockages can impede water flow, causing rainwater to overflow and potentially damage the fascia, soffit, or even leak into your attic. Use a small scoop or gloved hands to remove debris, making sure the entire gutter length is cleared. Regularly checking and cleaning out blockages ensures rainwater can flow freely, protecting both your roof and the foundation of your home.

Examining of Downspouts and Drainage

Gutters are only as effective as their corresponding downspouts and drainage systems. It is important to verify that downspouts are securely attached, free of blockages, and draining water at least several feet away from the foundation. Use a garden hose to flush out the downspouts, checking for obstructions or leaks. Ensuring effective drainage helps prevent water from pooling around your home’s perimeter, reducing the likelihood of basement flooding and erosion.

Preventing and Repairing Roof Leaks

Common Leak-Prone Areas to Monitor

Certain areas of your roof are more susceptible to leaks due to exposure, design, or aging materials. Pay close attention to valleys where two roof planes meet, around chimneys, skylights, vents, and flashing installations, as these spots are frequently entry points for water. Check for cracked sealants, misaligned flashing, or missing roof materials, which are common causes of leaks. Being vigilant in these vulnerable zones allows you to act quickly at the first sign of trouble.

Patching and Sealing Minor Leaks

When you identify small leaks or gaps, prompt patching and sealing can stave off further damage. Use roofing cement, patches, or waterproof sealants specifically designed for use on shingles or flashing. Apply these materials only to dry, clean surfaces, ensuring maximum adhesion and water resistance. Addressing leaks as soon as they are discovered keeps moisture from infiltrating your roof decking and insulation, preserving the longevity of your entire roofing system.

When to Seek Professional Help

While many roof maintenance tasks can be managed independently, some situations call for professional expertise. If you encounter widespread leaks, persistent water intrusion, or structural concerns—such as sagging or compromised roof supports—it is wise to contact a licensed roofer. Professionals can accurately diagnose underlying issues and provide long-term solutions, safeguarding your home and ensuring your DIY efforts are supplemented by expert care when necessary.